Creating a Team
To get started with Firebender for your team, follow the steps below to purchase seats and invite members.1
Pre-purchase seats at checkout
When selecting the Business plan, you can pre-purchase seats for your team members during checkout.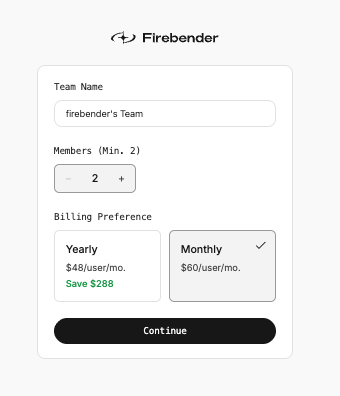
2
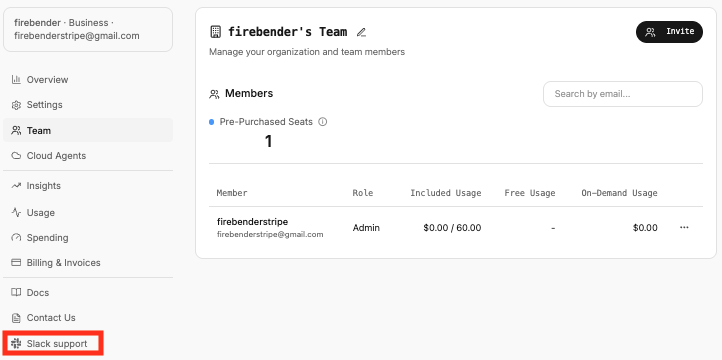
View your team in Settings
After purchasing, you’ll be taken to the Settings page where you can view your team under the Teams section.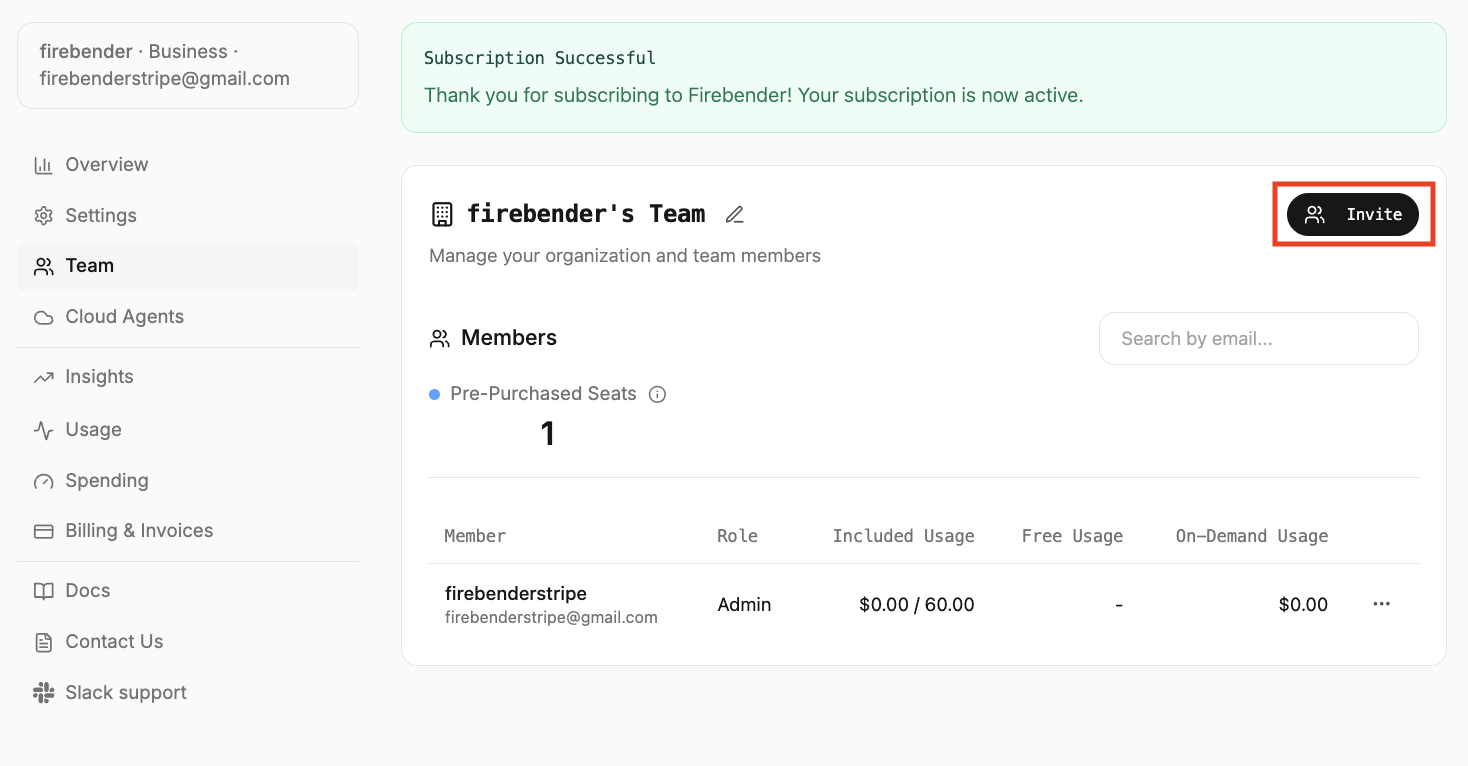
3
Invite team members
Click Invite Members to open the invitation form. Enter the email addresses of team members you want to invite.All changes to users are prorated, meaning you will only be charged for the time a user has been a member of the team. Prorated charges are applied at the start of the next billing cycle.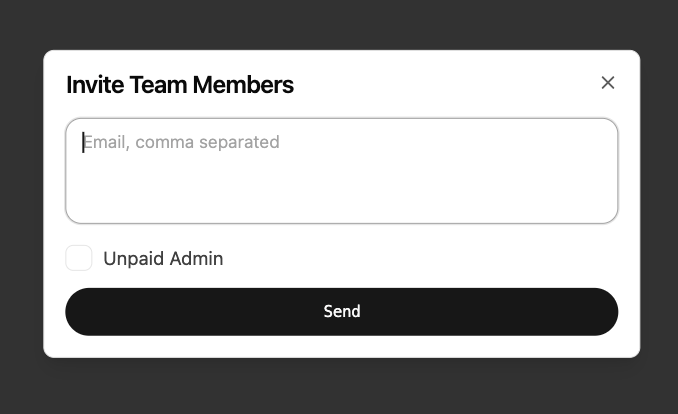
4
Configure SSO (optional)
For additional security and easy onboarding, you can enable SSO for your team. When SSO is configured, users who sign in with your SSO provider will automatically be added to your team without needing an invitation.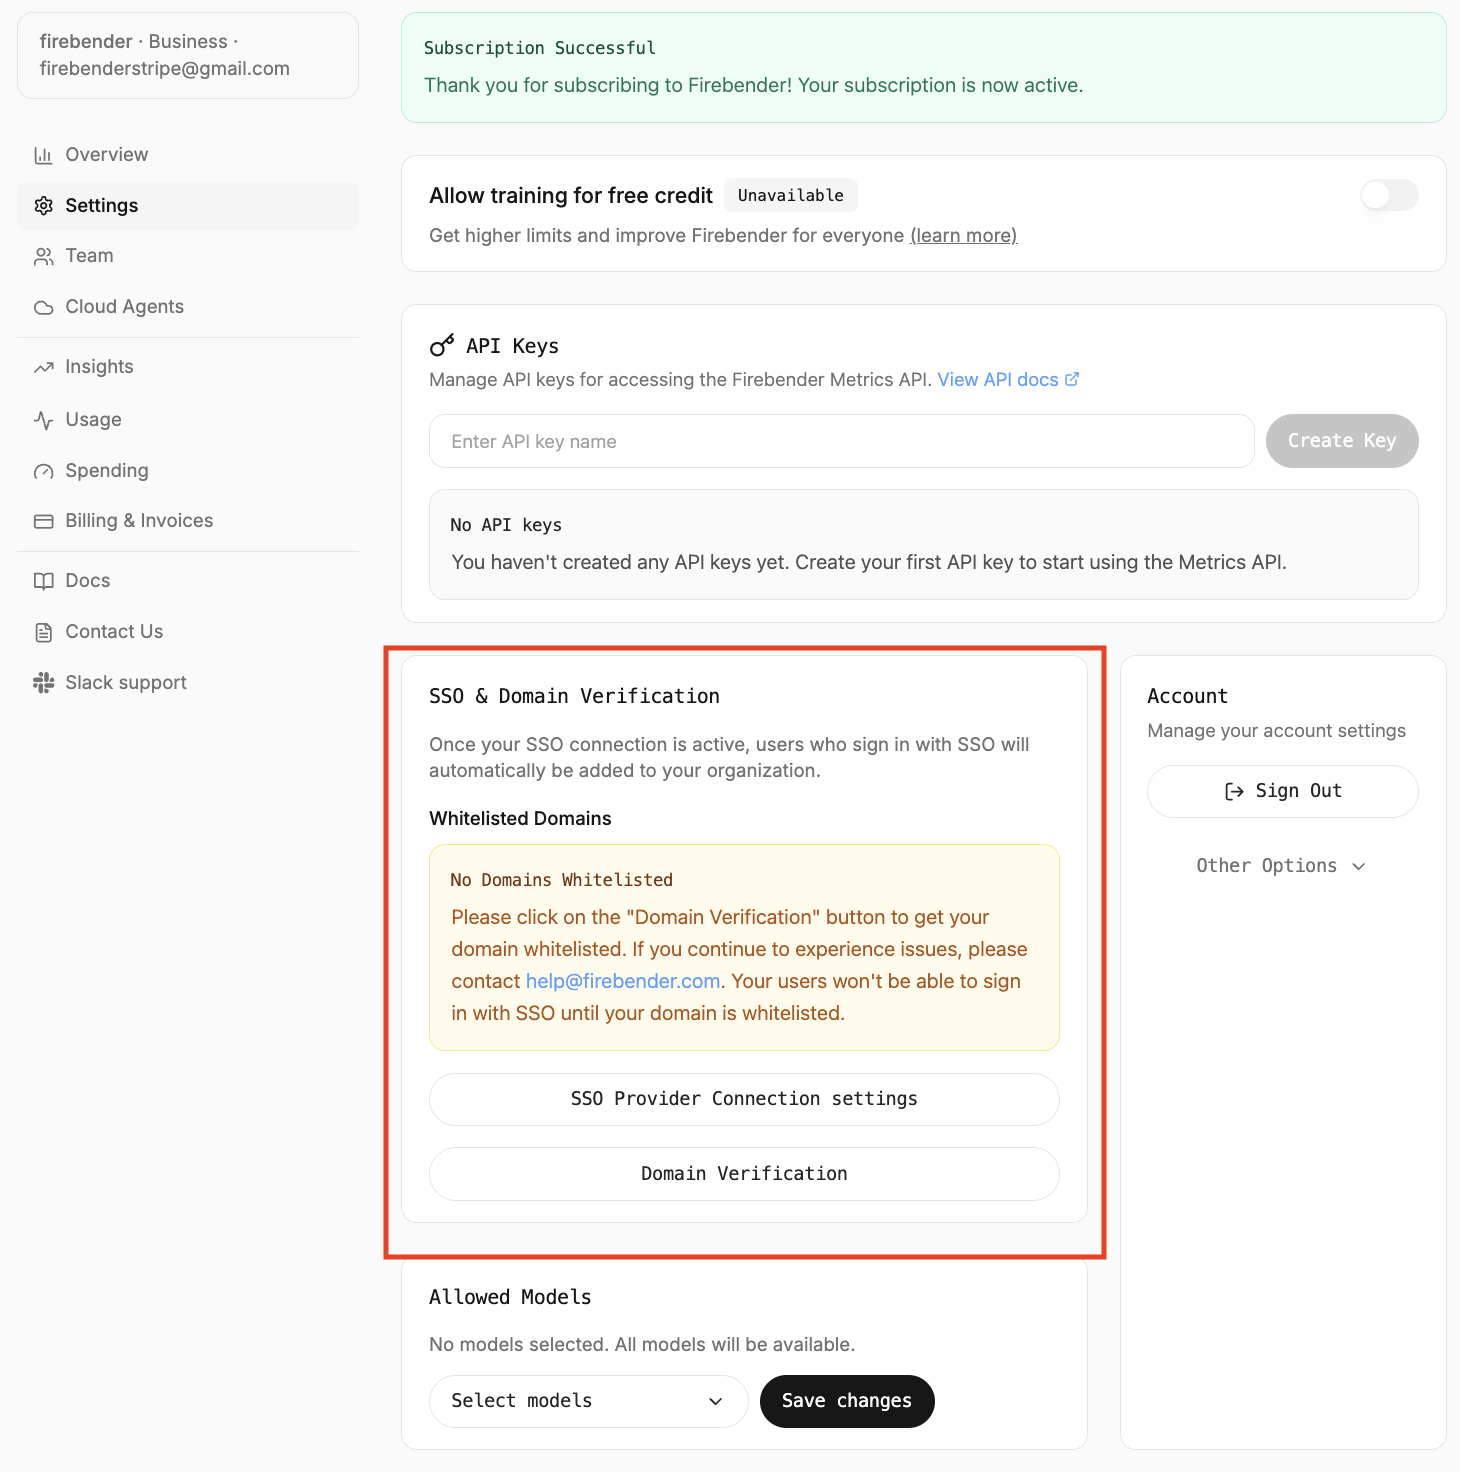
If you’ve enabled SSO, users who sign in with your SSO will automatically be added to your team without needing an invitation.
Get Support
Create a shared Slack channel to get direct support from the Firebender engineering team.